Help
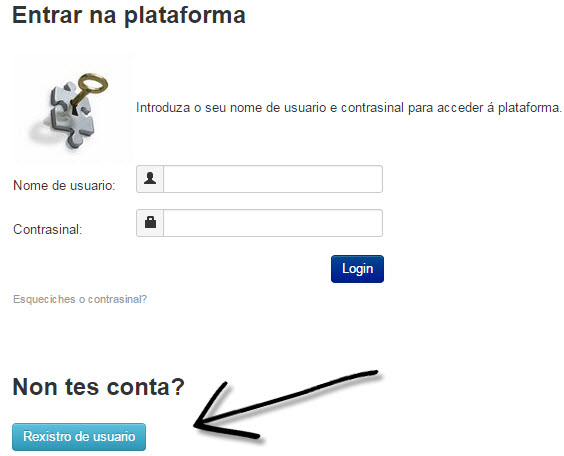
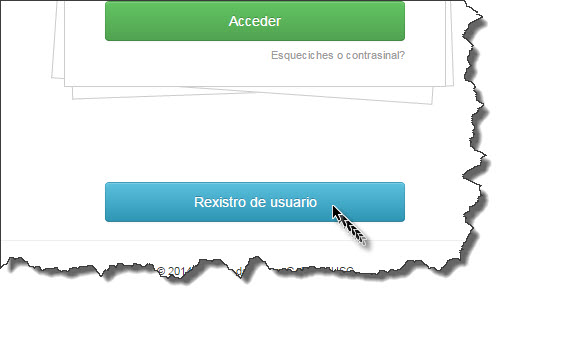
To start using FOLERPA, please sign up. Click on the USER SIGN UP button on the Home screen.
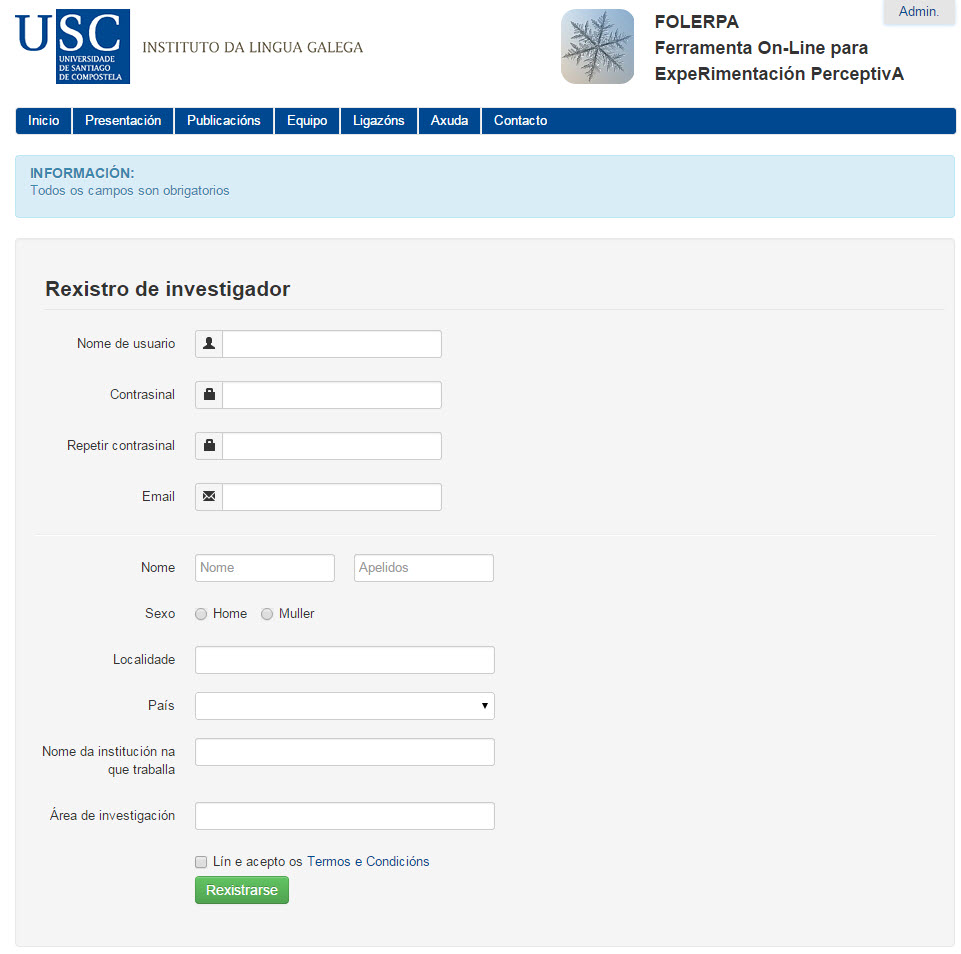
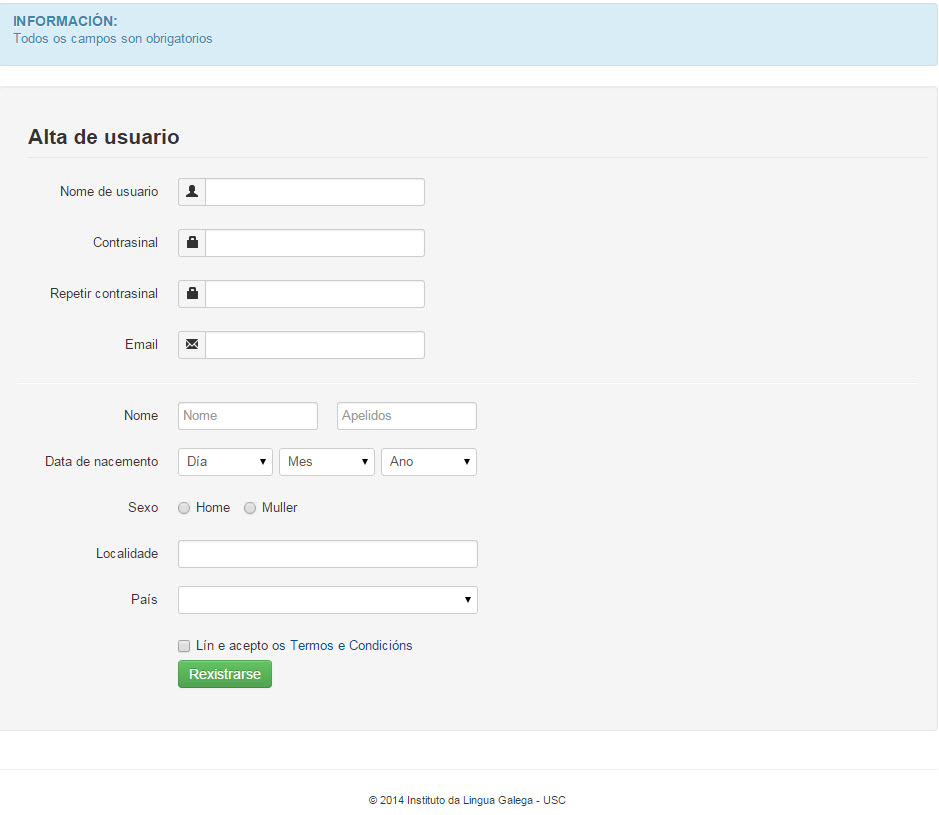
You will then access a form where you must fill in some data to complete your registration.
All signed up?
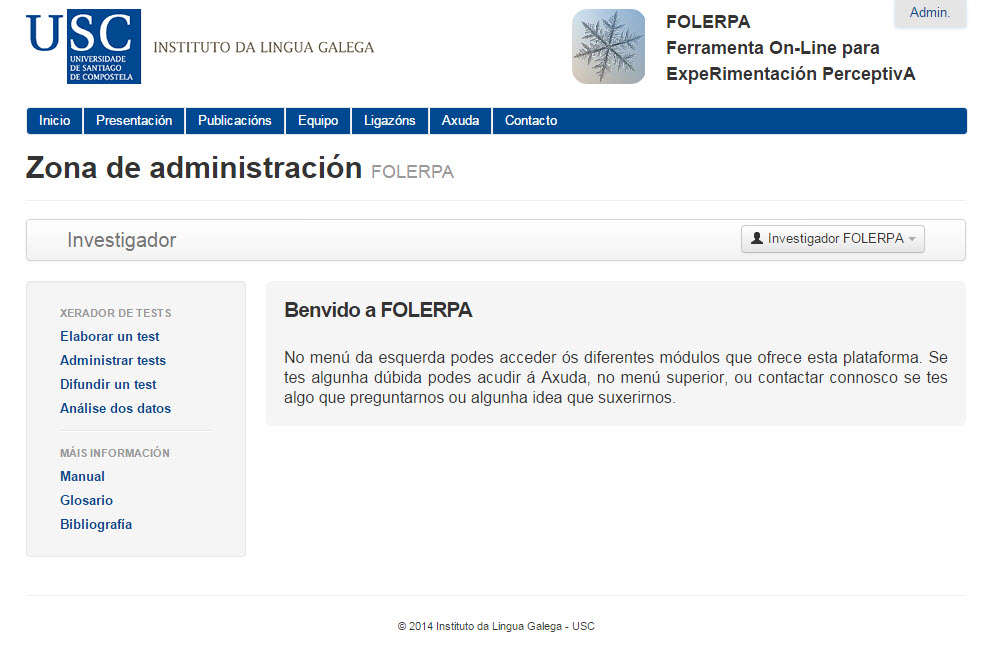
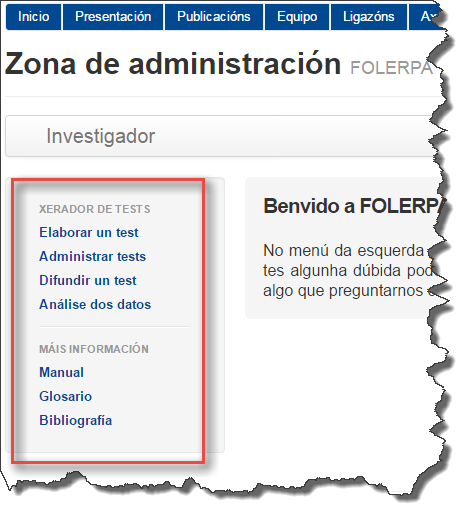
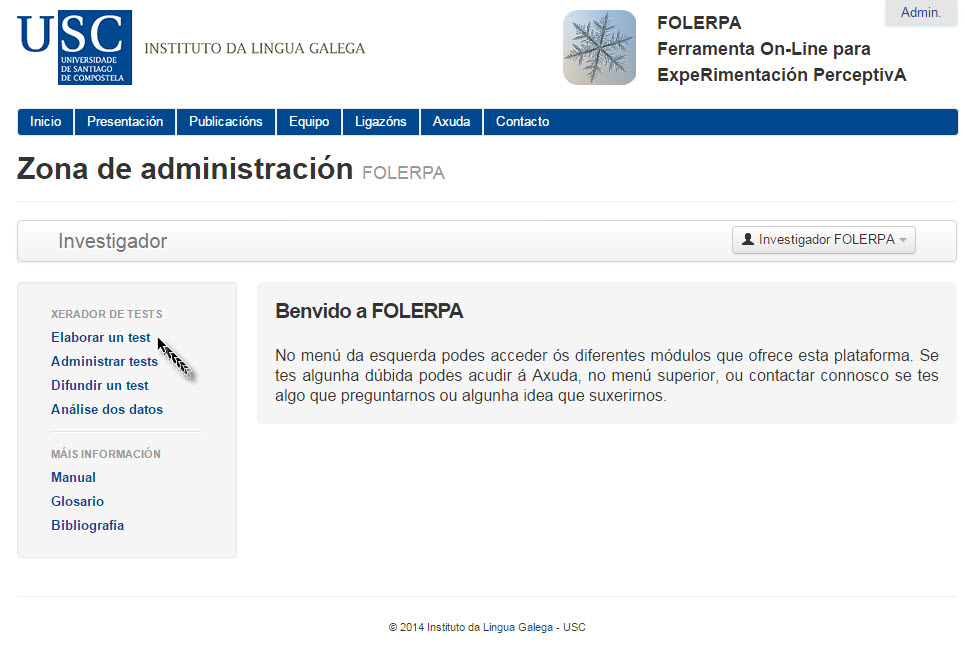
Agora podes acceder ao teu perfil de investigador/a desde a pantalla de inicio. Dentro desta zona de administración podes elaborar un test, xestionar os tests que xa teñas realizados, difundir os teus tests e realizar unha análise estatística básica.
Atoparás estas opcións no menú da esquerda, xunto cun manual, un glosario, e unha serie de referencias bibliográficas, que podes descargar.
Sign out
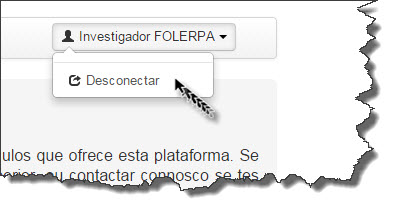
To sign out, please click on the field containing your username, in the upper right-hand corner, and then click on SIGN OUT.
Top menu
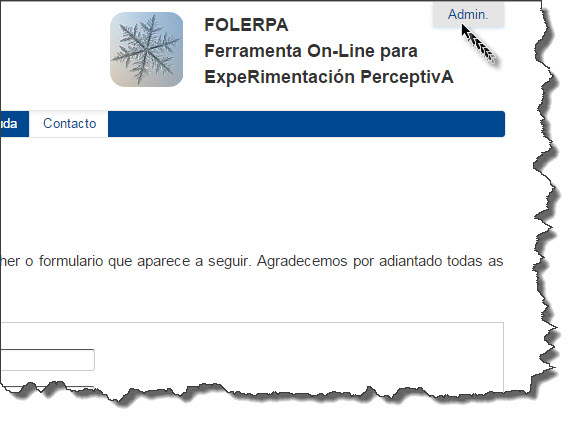
Podes navegar polo menú superior sen desconectar a túa sesión. Unha vez que queiras volver á zona de administración só tes que premer na pestana que se descolga sobre a barra do menú superior.
Side menu
Recorda que tes todas as opcións de administración do test no menú esquerdo. Podes acceder a calquera dos recursos cando o desexes. Ten en conta que se estás creando un test e aínda non o remataches, perderás todo o que cubriches ata o momento se cambias de módulo.
Para crear un test novo debes seleccionar a opción ELABORAR UN TEST no menú esquerdo, dentro da túa zona de administración como investigador/a.
Con esta opción accederás ao espazo de construción de tests, con diferentes apartados que tes que cubrir segundo as túas preferencias e o test que desexes realizar. Este módulo de elaboración do test está formado por unha serie de formularios:
1. Test data
Nesta primeira pantalla deberás inserir a información relativa ao test que vas realizar, como o título, o propósito da investigación ou o código, que será único para cada test.
2. Participant data
Nesta sección podes determinar que datos queres recoller dos xuíces/as que van participar no teu experimento. Está organizado de maneira que o/a investigador/a dea unha serie de opcións pechadas para que o/a xuíz/a escolla.
3. Variables
Aquí terás que introducir as variables asociadas aos teus estímulos, e os niveis posibles dentro de cada unha desas variables. Por exemplo, poderiamos introducir a variable lugar de articulación, cos niveis bilabial, dental, e velar.
4. Instructions
In this area you can enter instructions to be read by participants at the beginning and/or end of each test.
5. Trials
Esta é a sección en que debes predefinir os xuízos (trial) do teu test. Aquí seleccionarás o número de estímulos que van aparecer en cada xuízo, o número de opcións de resposta, a repetición dos xuízos, a orde en que se presentan, e o tempo de pausa entre as repeticións de estímulos e a presentación de cada xuízo.
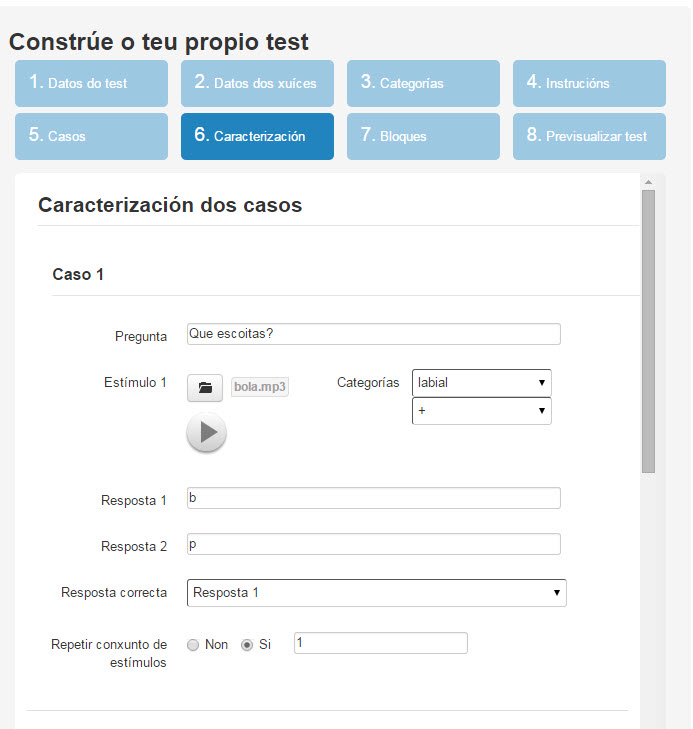
6. Characterization
In this section you can characterize the trials included in your test. In this form, you can enter the questions for the participants and the possible answers. Here you can also upload the audios you will use as test stimuli.
7. Blocks
In the BLOCK CHARACTERIZATION section, you can determine the number of blocks your test's trials are to be divided into. You can also choose any repetitions of the blocks, as well as the text that will be presented to the participants during the interval between blocks, should there be more than one block.
8. Preview test
After completing the parameter entry you can preview the test as it will be shown to participants during the experiment. This way, should you find any errors, you will be able to modify any part of your test.
After previewing the test, you will be shown an overview of the information regarding your test.
Click SAVE to finish and save your test.
The CREATE TEST option allows creating detection tests, AXB, AX, and other types of discrimination tests, identification tests, or scale evaluation tests. For more information, please see the Manual.
You can see your tests anytime from the panel TEST MANAGEMENT. Here you will find all the tests you have created, you will be able to preview them, see the information entered when you created the tests, and preview responses from participants who have already completed them. You can also clone or delete tests you have already created.
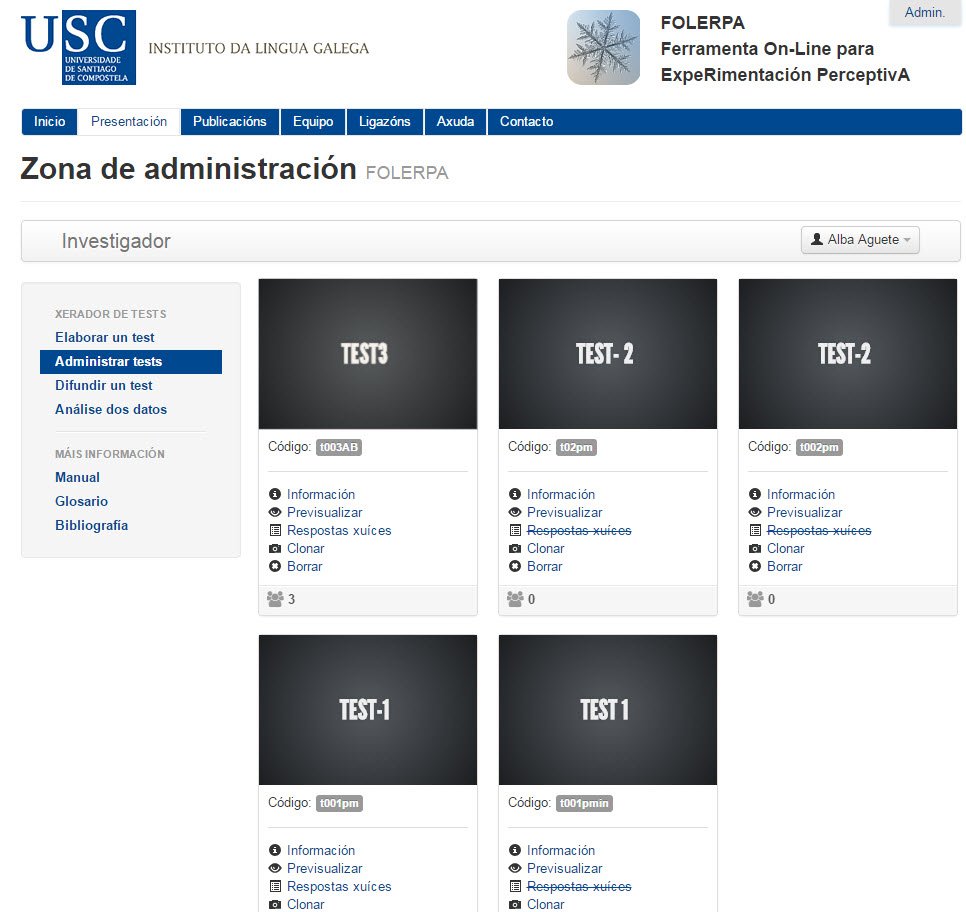
Information
You can see data regarding any test, such as the purpose of the research, the aims of a test, the code of a test, as well as information about the number of trials a test consists of and the associated categories or stimuli. This will allow you to access more easily any test you might be looking for.
Preview
After completing the parameter entry you can preview the test as it will be shown to participants during the experiment. This way, you will be able to remember exactly what your test looked like.
Participant responses
You do not need to download the result table in order to see the participants' responses.
Clone
Would you like to replicate a previously created test with minor modifications?
You can clone a previously created test. The new test will maintain all the parameters of the original, but you can make any changes you need. You only need to enter a new code and upload new audios.
Clear
Remember that you can delete the tests you no longer need or want in your workspace.
This module allows you to distribute a test to the participants in your experiment. There are several ways to do this:
- By sending the URL to the participants, who will then directly access your test.
- By sending the participants the link to the access page to the participant profile, and the code of the test you want them to complete.
In this second type of distribution, participants will go to an access page, where they will have to enter their username, password, and the test code.
Participants must register to be able to complete the tests. The same access page can be used to register.
New participant user
To complete the tests, participants must individually register on the platform. Registering as a participant user is just as easy as registering as a researcher. All you have to do is click the USER SIGN UP button on the page they have received in the link
Participants will go to a new participant user sign up page, where they will have to fill in some fields to complete their registration:
Once registration is completed, participants will return to the page they have received in the link.
This module allows you to work with the test data. You can see the information regarding each test and decide what data you want to work on. You can also preview participants' responses.
It includes a basis statistical analysis module which allows you to obtain a descriptive analysis of your test, of the participants who completed it, and their responses. Section under construction.
You can also download data tables for each of your tests. There are three types of tables:
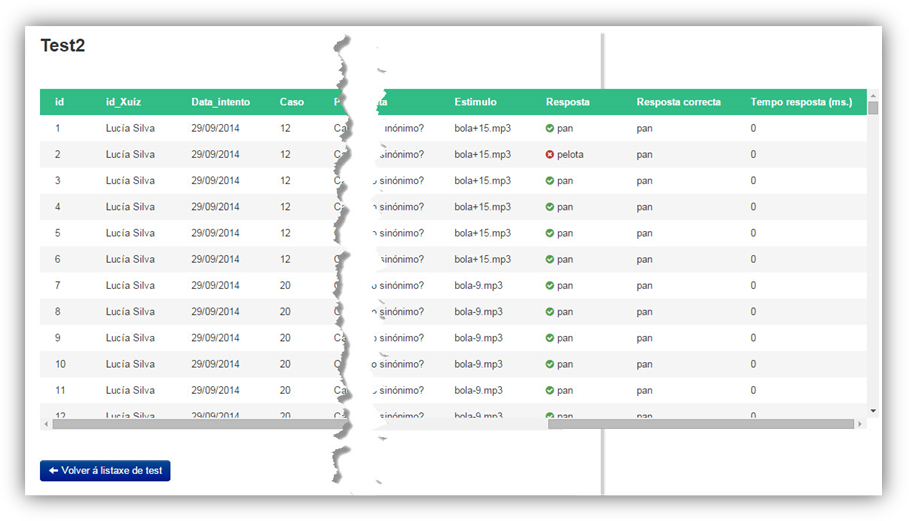
Participant response table
This table contains the responses given by the participants who completed a particular test. Each response corresponds to a row in the table. Therefore, each line also contains the participant ID, the question that he/she responded to, the stimulus he/she heard, the correct answer, and the answer the participant chose. Moreover, the date of completion of the test and the duration of the experiment are also stated.
Participant data table
This table contains the data the participants were asked to provide, which are selected in the second step of TEST CREATION. Therefore, the number of columns in the table will depend on the number of categories that intervene in the creation of the test, and the number of rows will depend on the number of participants who complete the test.
Variable table
This table contains data regarding stimuli. In the third section of TEST CREATION, researchers must enter the characteristics that are relevant to their study, linked to the stimuli included in the test. The characterization of each of the test stimuli is shown here.
Browser issues
For the best experience, we recommend using FOLERPA with Google Chrome
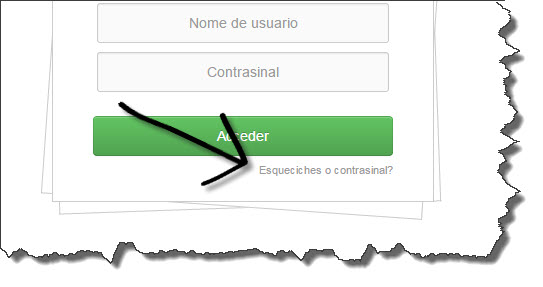
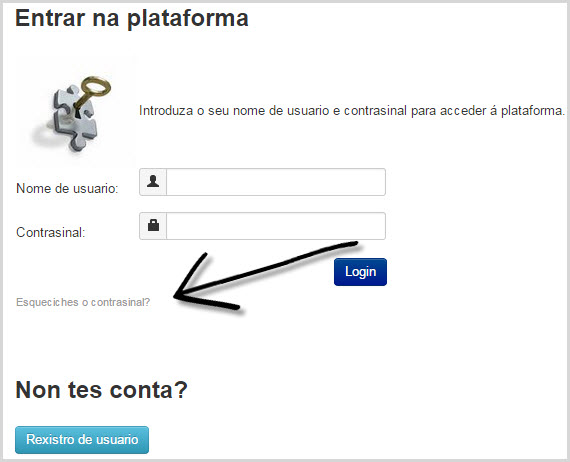
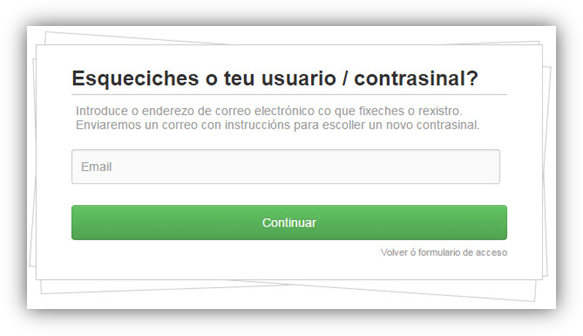
Forgot my password
You can restore your password in the Home screen, using the e-mail address you entered during sign up.
If you are a participant user, you can access this option from the test access page: